
Progress/Process (January Art Show) Day 5
I’ve learned that one of the best ways to get inspired to start painting is to prepare the support. (Glossary: “Support” – I like this generic term for the substrate that will be painted on. It can be a stretched canvas, panel, paper, found item, etc.) Building and priming the supports is a great way to get into the studio or workshop and get hands on; it’s a great way to brainstorm and think about sizes and composition while completing necessary prep work.
Most recently, I’ve been working on wooden panels. It’s rigid and great for masking, stenciling, and cutting directly on the surface. I can really work the surface, sand, distress, scratch, etc. without stretching or ripping that might happen on a canvas. I like the simple presentation of a cradled plywood panel. (Glossary: “Cradled” – a simple frame creates depth to the sides and strength to the support. The panel is attached to the front of the frame so the painting surface extends edge-to-edge.)
Materials: I’ve been using Luan Mahogany plywood for a few years. It’s lighter, stronger and not much more expensive than masonite. It wont swell from moisture like masonite (pressed saw dust panels). The appearance of the mahogany surface can be really striking and stains nicely. I like to take advantage of the woodgrain. The first pieces in this newest series presented a few challenges because of al the sanding that I did, trying to get a super smooth surface. The top veneer of Luan is thin and porous and sanding made it reee-eally thin at times. I had issues with the veneer lifting/tearing off when I pulled the adhesive mask that I use for stenciling. This round, I’m trying new wood products. I chose a thicker pine plywood with only three layers that are fairly thick; also, I am using a very straight grained fir for the sides to prevent warping. The materials were more than twice as much, but still very affordable because I’m building them myself.
I had the plywood cut to size when I bought it. I cut down all of the sides on a miter cutter, prior to assembly. Using sizes that share one dimension, made production simple (36×24. 24×18, 18×12, 12×12). Also, very little waste. The entire sheet of plywood was used. Next, I routed, glued and pinned the corners like a picture frame. Once all of the frames were assembled, I glued the top of the frame and set the panel on top, lined it up and nailed it on (with an air powered brad gun). I’m priming the surface on these so I’ll be filling the nail holes. Glue and clamps would work if I didn’t want nail holes to show on a natural woodgrain surface.
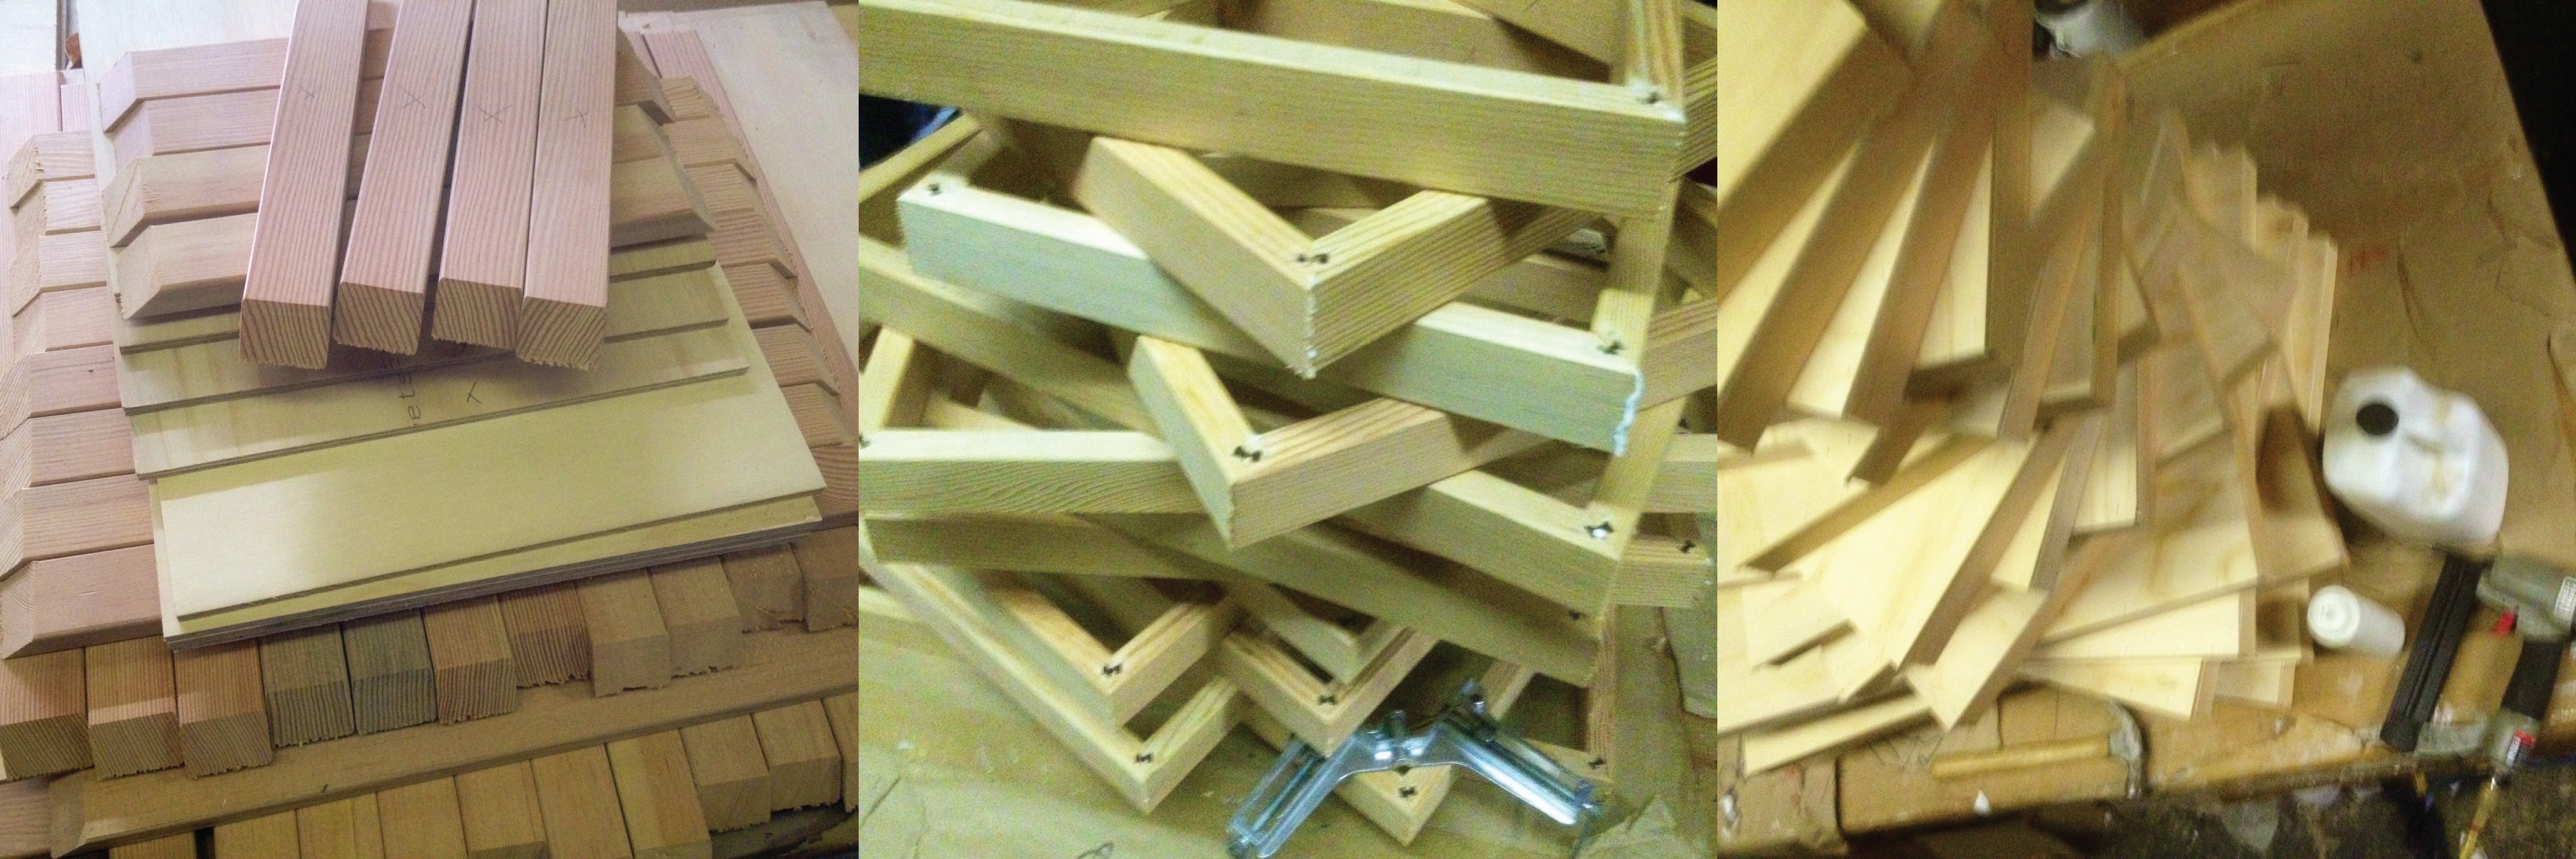
Progress:
Jan 3: I purchased lumber. I worked my day job. I read a book. (I’ve avoided the uber-distraction of internet TV so far, this month.)
Jan 4: I cut down frames for cradled sides. I drove to the Pearl District and picked paintings up from a show, ate chinese food, drove home and napped. I went back to the shop and assembled panels. I worked night job.
Jan 5. I’ve slept most of the day (remember, night job…) and played some drums. Now I have some design work to do for a commissioned painting that needs attention.
Coming up: illustration techniques, more materials, thematic ideas…probably more napping.

Leave a comment